Create to your heart’s Content!
It’s February, and love is in the air! In the spirit of the season, Centercode’s February release brings you a whole new way to get your heartfelt feelings (and important test info) out to your testers with a totally revamped resource/content creation system. We’ve updated and streamlined the content creation process and added a bouquet of new options and features along the way to get your content looking better than ever before!
A whole new way to create
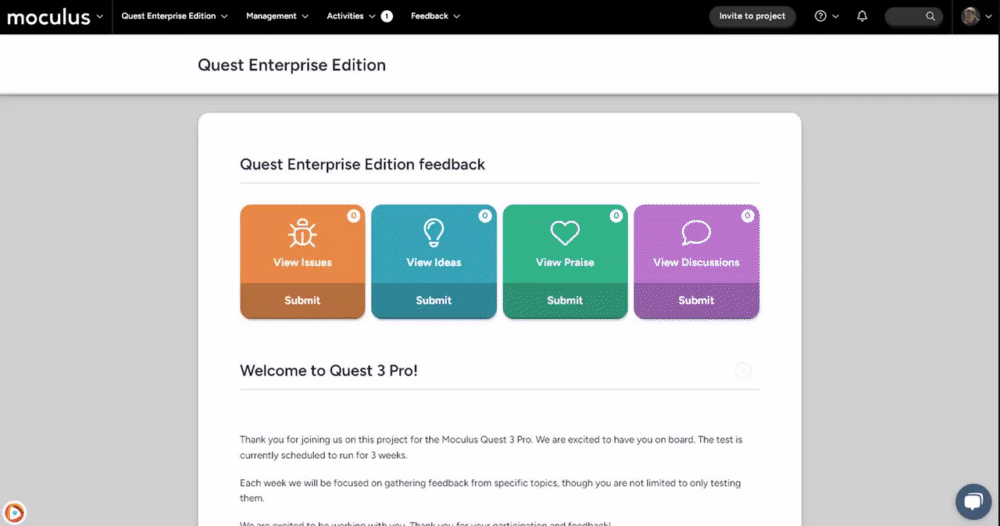
Resources (which include content, features, and releases) are the primary way you’ll communicate information to your testers, distribute test-critical files, and give them instructions on what and how to test your product. In this release, we’ve overhauled and streamlined the UI to make the resource creation process more intuitive, added some useful new features, and paved the way for three exciting new resource element types coming down the line!
Defining your resource
The first steps in the new resource creation process are to define the resource type from your available types, name it, and define how you would like this content to be accessed. Defining the resource type early in the process gives you a better idea of what the resource will need to contain, and controls which options will be available in that specific resource. One of the handy new features included in this update is a dynamic in-line help box, which defines the functionality of the resource type you have selected, tells how your users will be able to access it, and provides links to further information if necessary.
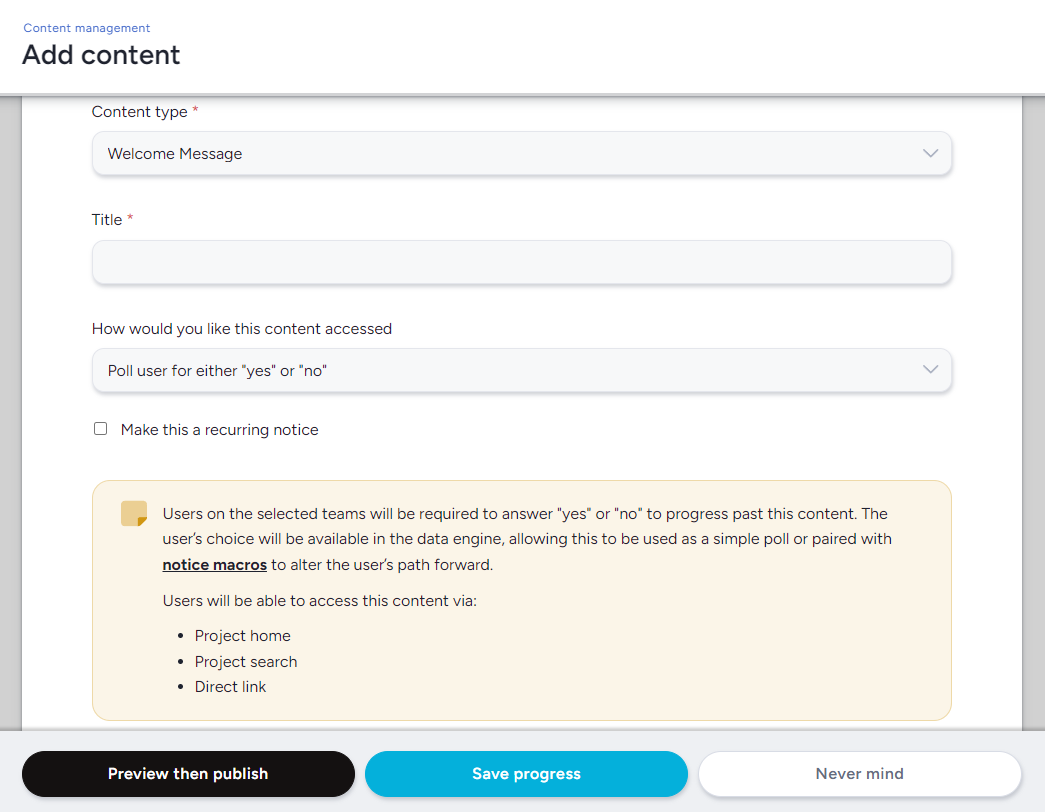
Populating your resource
Once you’ve selected the type of resource you’re creating and how it will be accessed, you'll be presented with a series of checkbox options for all of the types of information your resource can contain. This allows you a finer degree of control over what exactly you’d like to present to your testers. These options update dynamically based on your previous selections, ensuring that you’re presenting the information appropriately and effectively (for example, preventing you from placing files or distributed values in an agreement that the user will only see a single time). Additionally, each of these options include a handy new hover-over description, detailing the functionality and giving a few suggested use-cases!
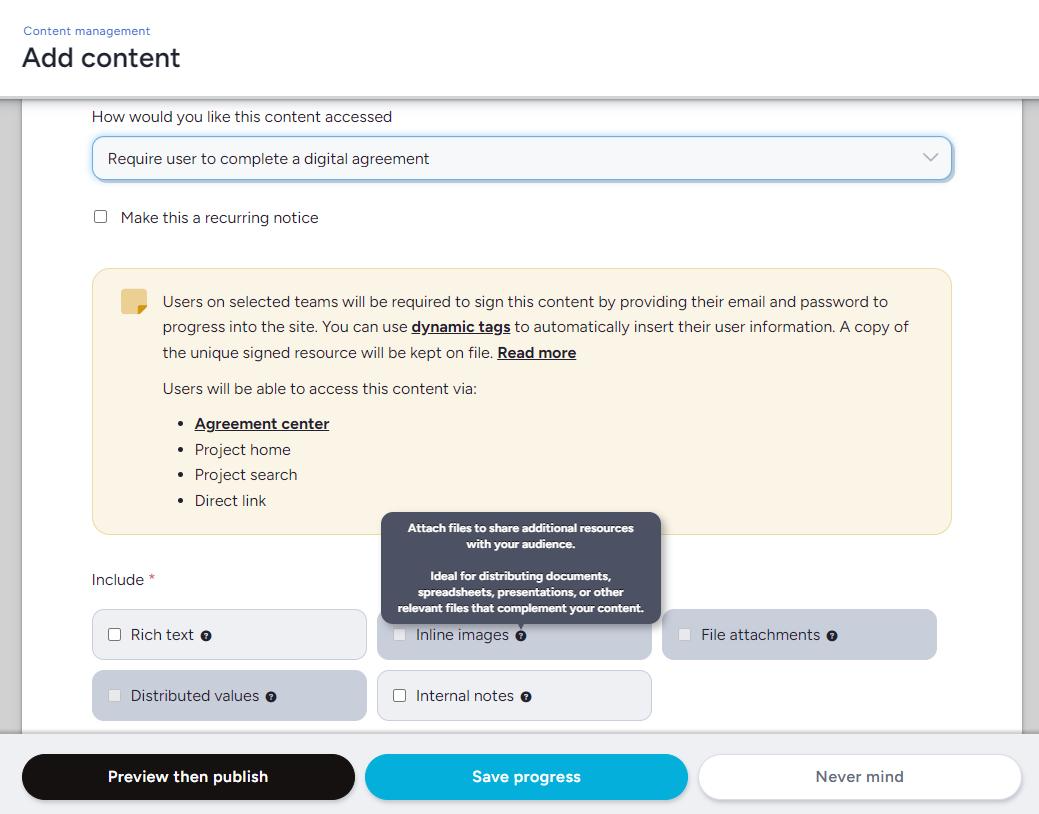
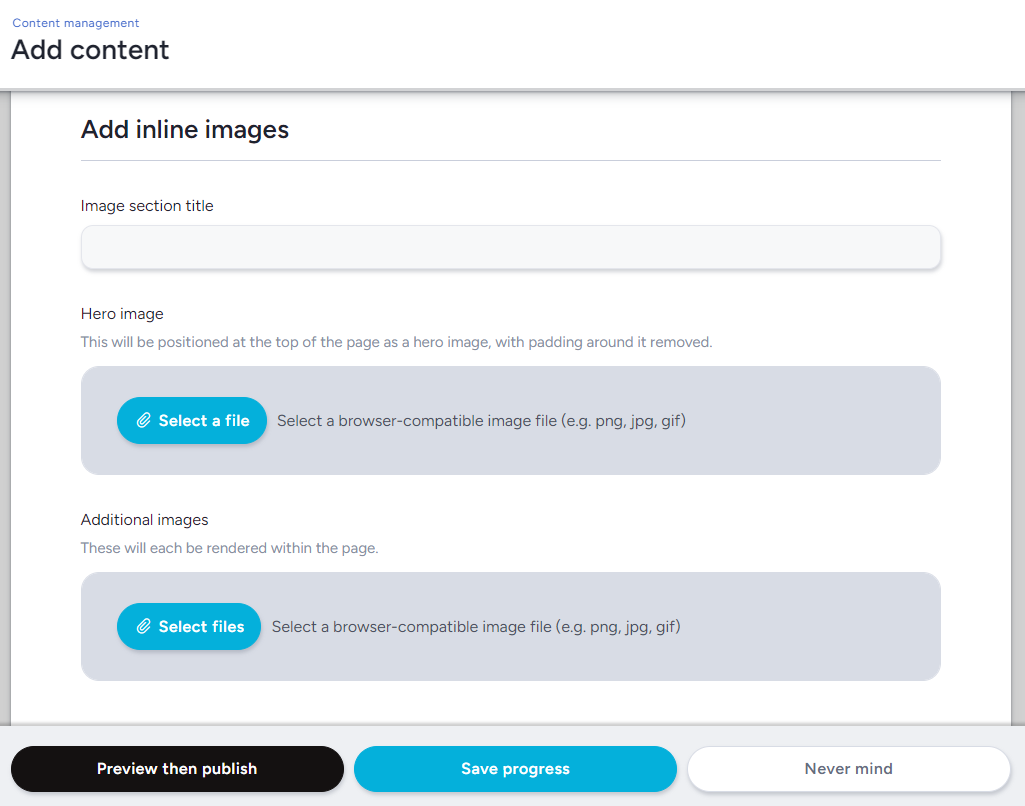
Selecting any of these options will add the appropriate section below, allowing you to further customize what it will contain. One notable new feature here is the inclusion of the “Inline images” section — a more flexible, first-class way to insert images, spreadsheets, and other information to your testers. This also includes a brand-new “Hero image” function, which will add a full width, banner-style image across the top of your resource!
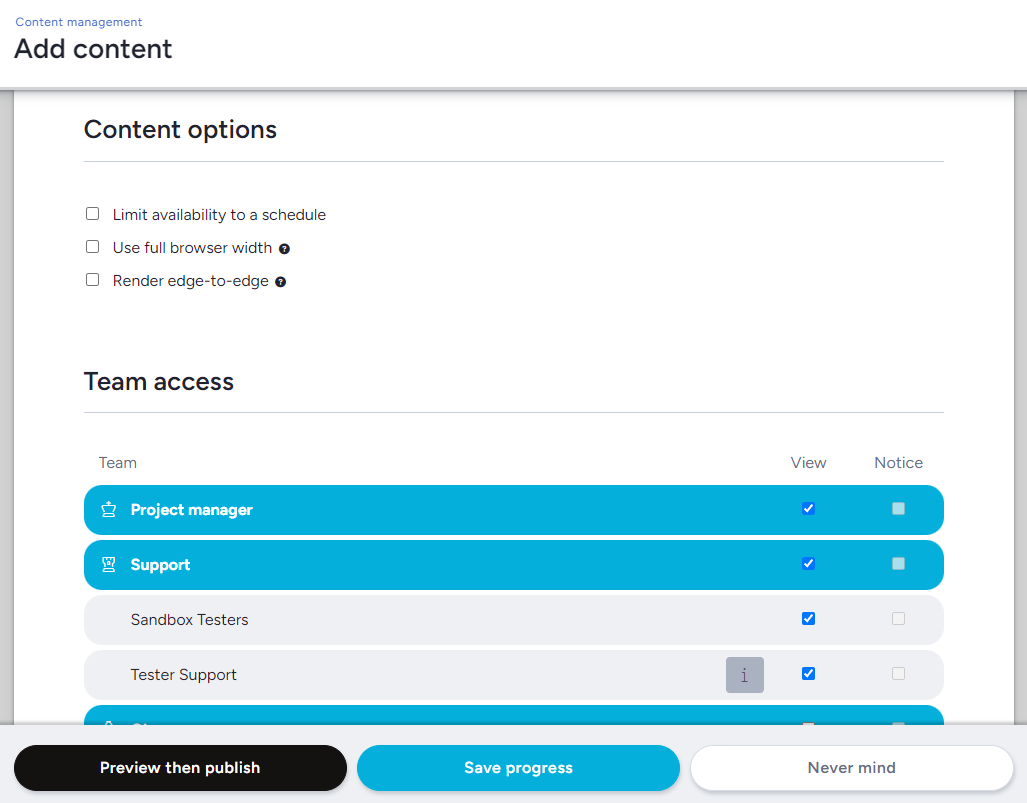
Selecting the audience for your resource
Finally, you’ll use the “Content/release/feature options” (depending on which resource you’re creating) and “Team access” sections to determine who can see your content, and when (via notices). Two new features here include the two new content options “Use full browser width” and “Render edge-to-edge (both examples featuring a new hero image!). Note: Hero Images are not compatible with the Full Browser Width option.
“Use full browser width” will dynamically scale the page width based on the viewer's browser width:
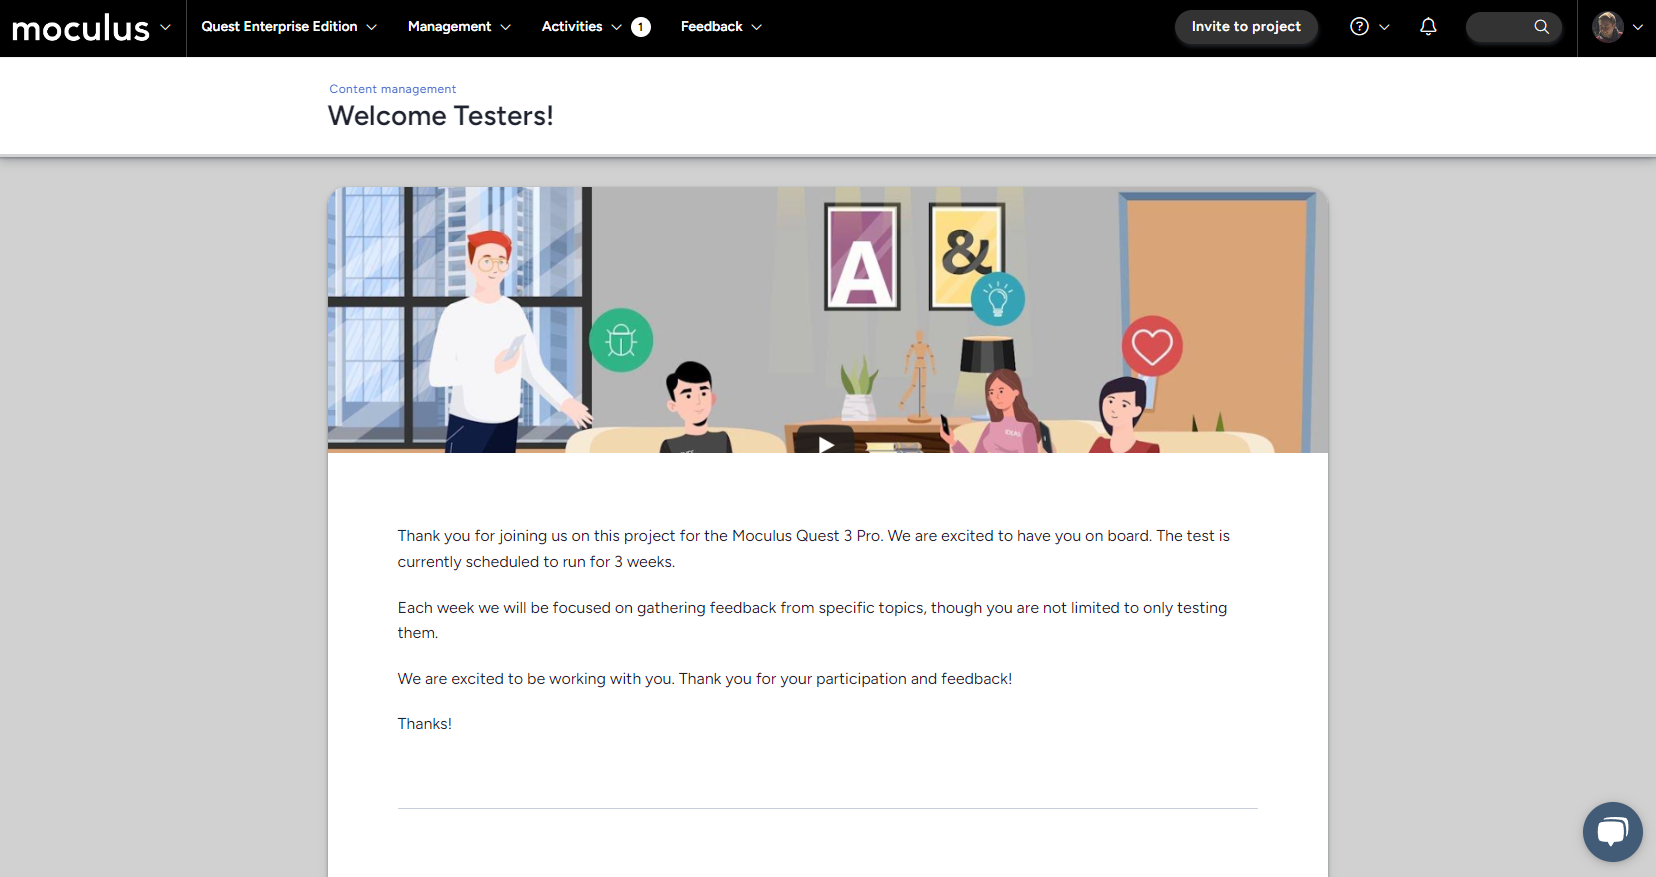
Here's an example of a Hero Image on a piece of content:
“Render edge-to-edge” will remove all white padding around displayed resources:

Another notable new bit of functionality here is that since you are defining whether a resource is a notice earlier in the process now, the ability to set a content or release as a notice in the “Team access” section will be dynamically enabled or disabled based on your earlier selections!
Data Engine & Custom Reports
- A few adjustments were made when presenting Release values in Reporting
Miscellaneous
- A correction was made to a specific cancel action functioning incorrectly